Hello! Welcome to ᗩᗷᗪᑌᒪᒪᗩᕼ ᑕᗝᗪᗴᗪ.
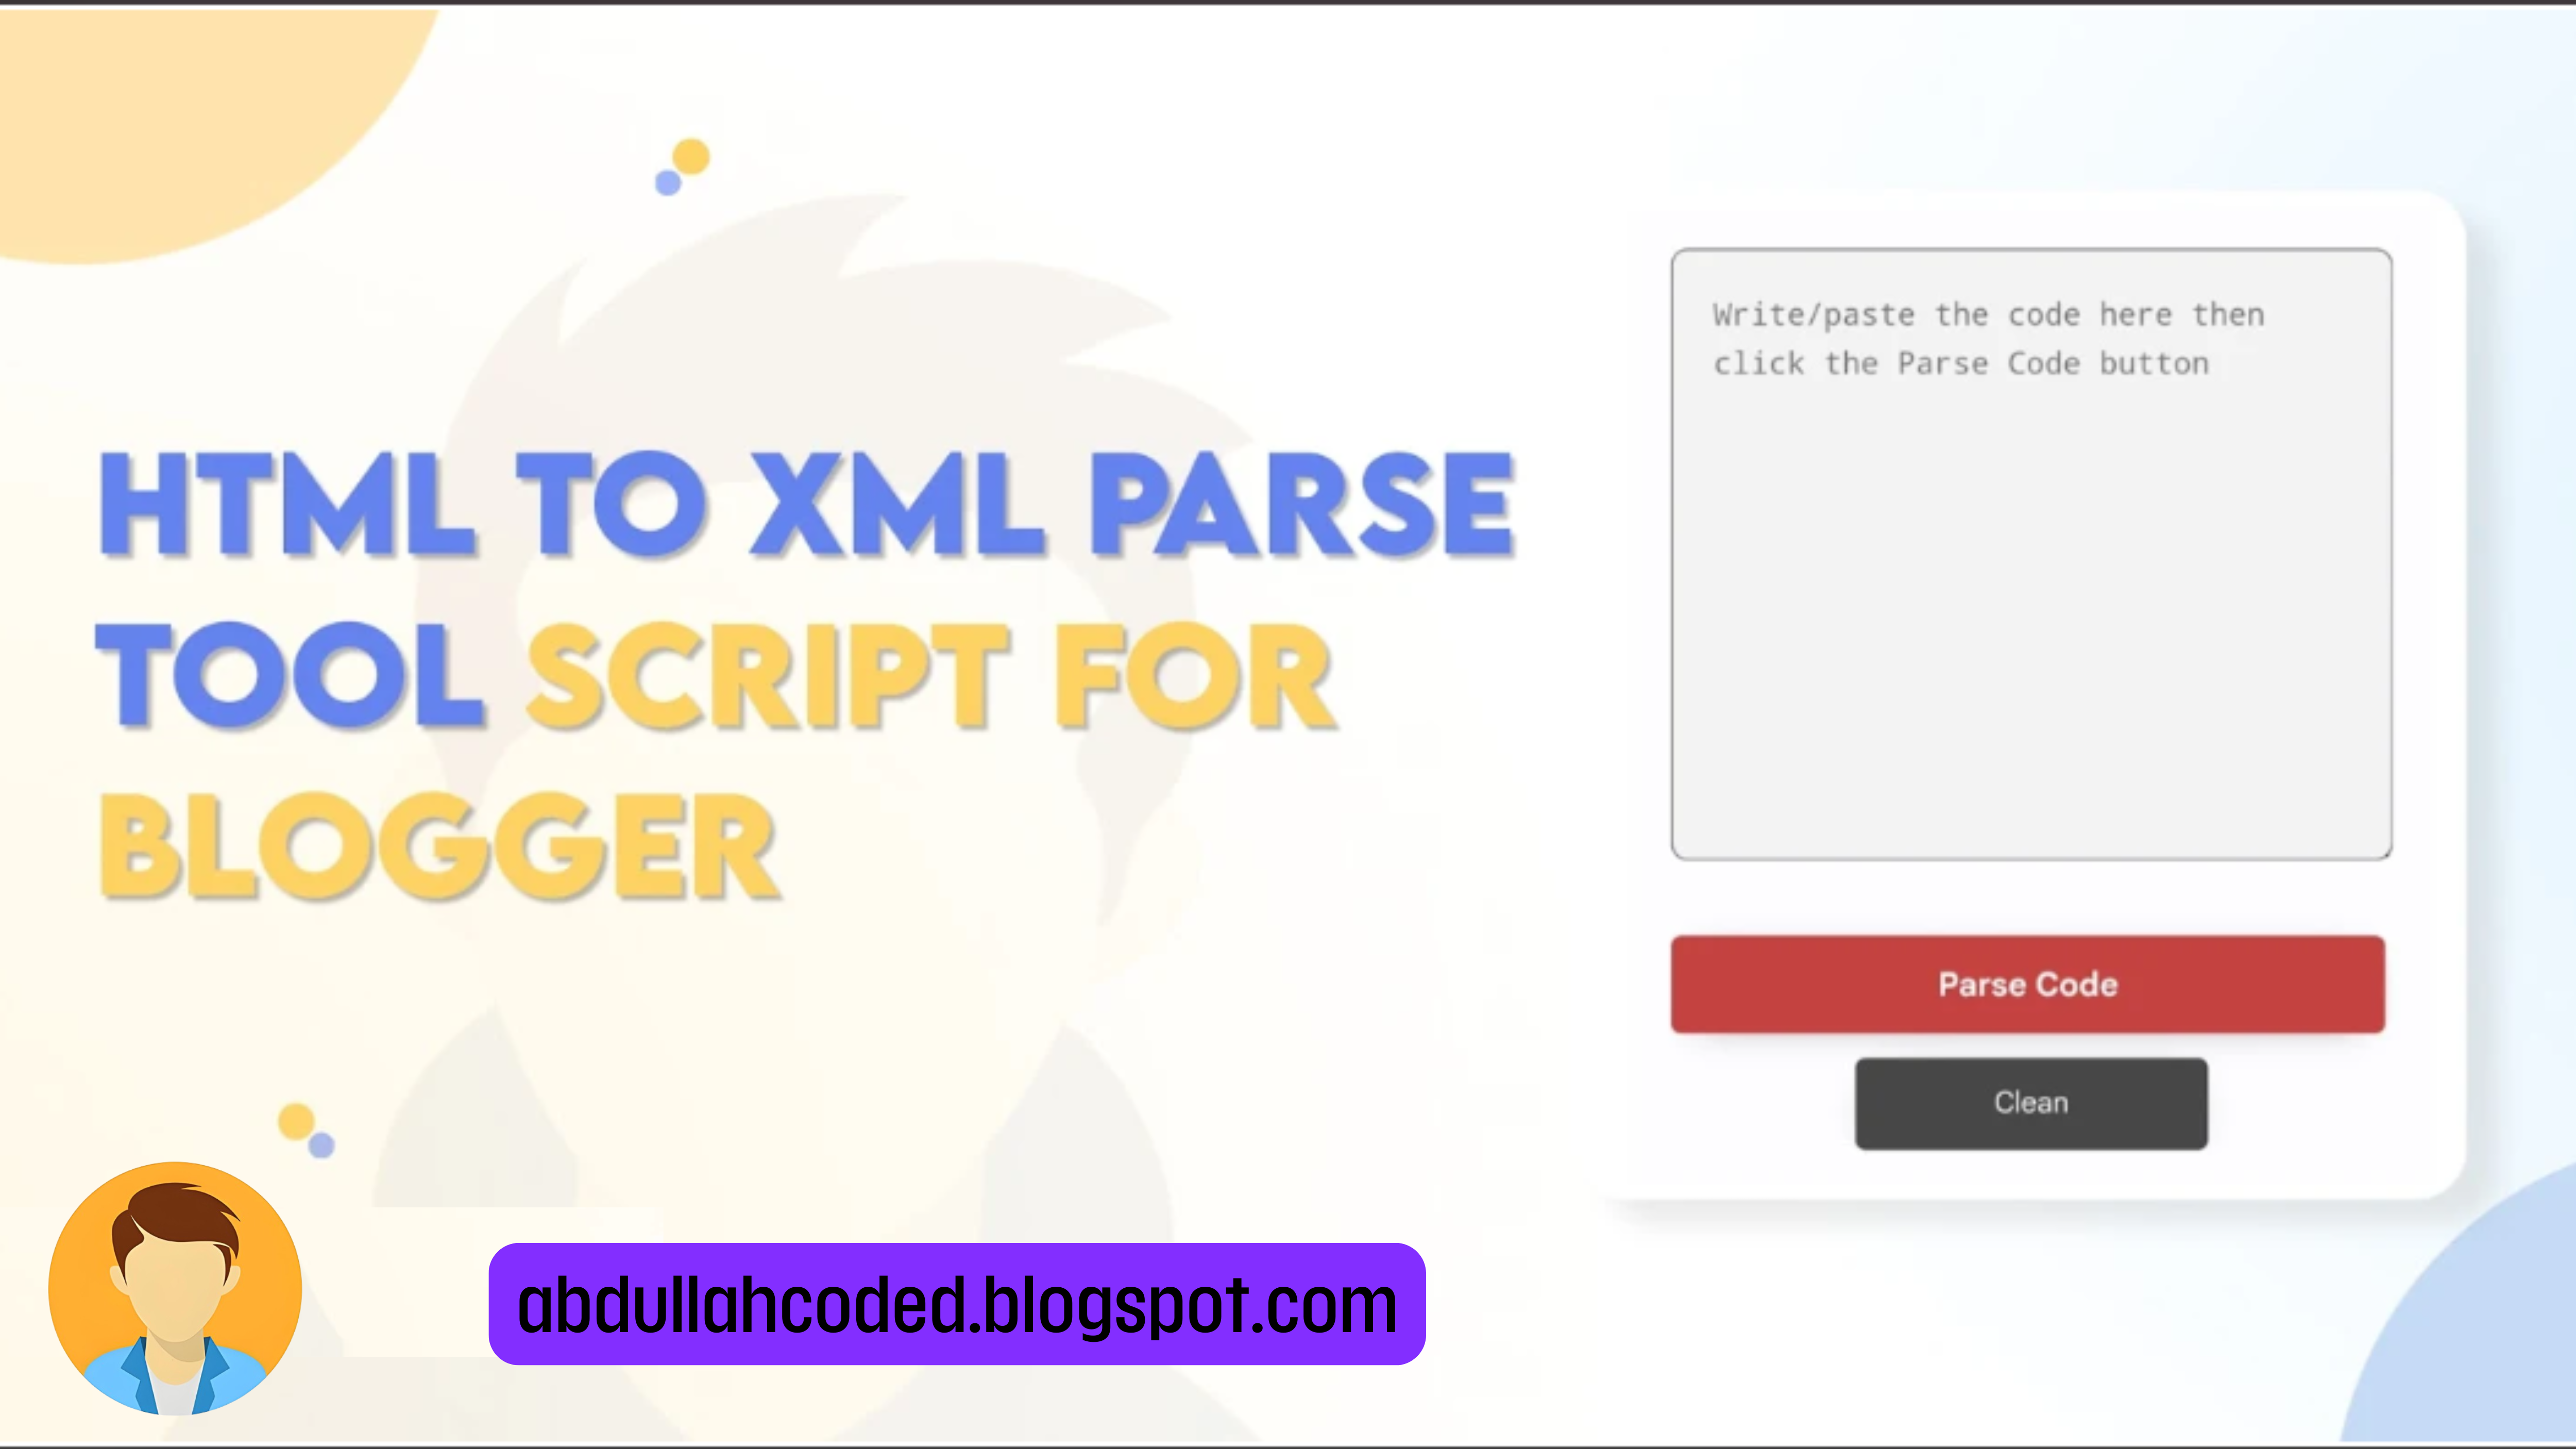
If you are looking for how to create a HTML To XML Parse Tool to blogger website then this post is just for you.
When we want to insert JavaScript code in the blogger template we usually need a tool to convert it into XML code. So in that cases mostly the HTML parser tool is used. Also same with google Adsense code in the blogger template.
Working of HTML To XML Parse
Basically, to make our JavaScript and HTML code work for the blogger templates we use an Adsense code converter. Also for providing code on the website under <pre> or <code> tag there also we can use this tool.
Technically, this tool replaces HTML characters with their XHTML character string. Basically, it is a simple HTML Encoder that automatically replaces all HTML coding characters like <, >, &. into character strings like <, >, &
The '&' be '& amp' characters. The character '>' becomes '& gt'. The character"" (single quote) becomes '& # 039'. The characters """" (Double Quote) become '& quot'.
Step 1: First of all Login to your Blogger Dashboard.
Step 2: On Blogger Dashboard, click nav-bar.
Step 3: Go to the page/post or place which you want to add HTML Parse Tool
Step 4: Then if you are doing this in page/post then don't forget to change Compose view to the HTML view
Step 5: Now paste the following HTML code to that place
<style scoped="" type="text/css">
#h4{ color:green;}
#parser2{position:relative;overflow:hidden}
#parser2 .btn,#parser2 .btn:active{background-image:none}
#parser2 .btn{font-weight:400;padding:6px 12px;margin-bottom:5px;font-size:14px;line-height:1.42857143;text-align:center;white-space:nowrap;-ms-touch-action:manipulation;touch-action:manipulation;-webkit-user-select:none;-moz-user-select:none;-ms-user-select:none;user-select:none;border:0;border-radius:4px;cursor:pointer;transition:all .3s}
#parser2 .btn:active:focus,#parser2 .btn:focus{outline:0}
#parser2 .btn:focus,#parser2 .btn:hover{color:#333;text-decoration:none;outline:0}
#parser2 .btn:active{outline:0;-webkit-box-shadow:inset 0 3px 5px rgba(0,0,0,.125);box-shadow:inset 0 3px 5px rgba(0,0,0,.125)}
#parser2 .btn-primary{color:#fff;background:#3e51b5}
#parser2 .btn-primary:focus,.button-group button:disabled{color:#fff;background:#286090}
#parser2 .btn-primary:active,#parser2 .btn-primary:hover{color:#fff;opacity:.9}
#parser2 .btn-danger{color:#fff;background:#f39c12}
#parser2 .btn-danger:focus{color:#fff;opacity:.9}
#parser2 .btn-danger:active,#parser2 .btn-danger:hover{color:#fff;opacity:.9}
#parser2 .btn-info{color:#fff;background:#5bc0de}
#parser2 .btn-info:focus{color:#fff;background:#31b0d5}
#parser2 .btn-info:active,#parser2 .btn-info:hover{color:#fff;background:#31b0d5}
#parser2 .btn-xs{font-size:12px;line-height:1.5;border-radius:3px;padding:1px 5px}
#parser2 textarea#somewhere{background:#f7f7f7;border:0;height:300px;width:100%;margin:0 0 10px;box-sizing:border-box;font-family:Consolas,Monaco,'Andale Mono',monospace;color:#111;border-radius:10px;box-shadow:inset 0 -5px 5px rgba(0,0,0,0.05);padding:20px}
#parser2 textarea#somewhere:active,#parser2 textarea#somewhere:focus{outline:0}
#parser2 .btn-sm{display:inline-block;font-size:13px;line-height:1.5;border-radius:5px;padding:12px;margin:0 auto 10px auto;width:30%;box-shadow:0 3px 1.2rem -0.8rem rgba(0,0,0,0.8)}
#parser2 .btn-xs{font-size:13px;line-height:1.5;border-radius:5px;padding:12px;margin:auto;width:30%;box-shadow:0 3px 1.2rem -0.8rem rgba(0,0,0,0.8)}
.collapse{display:none}
.alert-success{color:#222;background:#fff}
.alert{border:0;padding:5px 15px;border-radius:10px;position:absolute;top:20px;right:20px;min-width:210px;color:#0984e3;font-size:13px;box-shadow:0 2px 4px 0 rgba(0,0,0,0.16)}
button.close{padding:0;cursor:pointer;background:none;border:0;-webkit-appearance:none}
.close{float:right;font-size:1.3rem;color:#0984e3;margin:1px 0 0 0}
button.close:focus{outline:0}
.close:hover{opacity:1!important}
#btnInfo h4{margin:0;font-size:13px;line-height:2}
#button-link{display:none}
.clear{clear:both;display:block;margin-bottom:2px}
.alert br{display:none}
</style>
<div id="parser2">
<textarea id="somewhere" placeholder="Write/paste the code here then click the Parse Code button"></textarea>
<div class="alert alert-success margin-bottom-20 collapse" id="btnInfo" role="alert">
<button class="close close-copy" onclick="document.getElementById("btnInfo").style.display = "none";cdClear();" type="button"><span aria-hidden="true">×</span></button>
<h4 id="h4">Code copied to clipboard</h4>
</div>
<br /> <button class="btn btn-primary btn-sm btn-parse" onclick="convert();" type="button">Parse Code</button>
<div class="clear"></div>
<button class="btn button-link btn-xs btn-info" data-clipboard-action="copy" data-clipboard-target="#somewhere" id="button-link" type="submit">Copy code</button> <button class="btn btn-danger btn-xs" id="btn_clear" onclick="cdClear();">Clean</button>
</div>
<script type="text/javascript">//<![CDATA[
function downloadJSAtOnload(){var d=document.createElement("script");d.src="https://cdn.jsdelivr.net/gh/Arlina-Design/redvision@master/htmlparse.js",document.body.appendChild(d)}window.addEventListener?window.addEventListener("load",downloadJSAtOnload,!1):window.attachEvent?window.attachEvent("onload",downloadJSAtOnload):window.onload=downloadJSAtOnload;
//]]></script>You can change html texts as you want in the code box!.
Step 6: Then Save or Publish.
That's done!
Conclusion
This is all about making a Contact Form using Telegram Bot API. I hope you enjoy this article. Please do share this article. And if you are facing problem in any section or you have any question then ask us in .
Copyright ©
ᗩᗷᗪᑌᒪᒪᗩᕼ ᑕᗝᗪᗴᗪ

